Shark Euro Pro X Sewing Machine Manual: A Comprehensive Guide
This guide offers detailed instructions‚ safety precautions‚ and troubleshooting for your Shark Euro Pro X. Access PDF manuals online for optimal sewing machine operation.
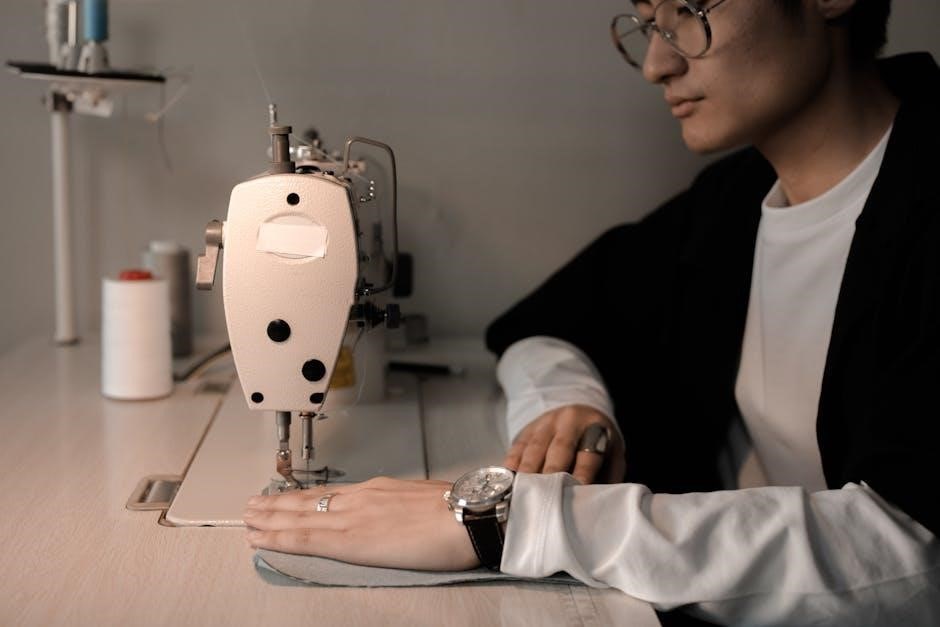
The Shark Euro Pro X sewing machine is designed for both beginners and experienced sewers‚ offering versatility and ease of use. Manuals are readily available online in PDF format‚ providing comprehensive instructions. This machine boasts a range of features‚ from basic straight stitching to more advanced techniques like buttonholes and zipper insertion.
Understanding its capabilities through the instruction manual ensures safe and efficient operation.
Understanding the Machine’s Features
The Shark Euro Pro X includes adjustable stitch length and width‚ multiple stitch patterns‚ and a built-in needle threader for convenience. PDF manuals detail each feature’s function. Explore decorative and reinforcement stitches for varied projects. Familiarize yourself with the control panel and stitch selection options‚ as outlined in the instruction manual‚ to maximize your sewing experience.
Safety Instructions & Precautions
Always read all instructions before use. Prioritize electrical safety and avoid injury during operation. The manual provides crucial safety guidelines for your Shark Euro Pro X.
General Safety Rules
Before operating your Shark Euro Pro X‚ carefully review all safety guidelines within this manual. Never operate the machine if damaged‚ and always disconnect power when not in use or during maintenance. Keep fingers away from moving parts‚ like the needle and presser foot‚ to prevent injury.
Ensure a stable work surface and adequate lighting. Do not force the fabric; let the machine do the work. Supervise children closely when the machine is in use‚ and never allow them to operate it unsupervised. Use only approved attachments.
Electrical Safety Guidelines
Always verify the voltage indicated on the Shark Euro Pro X matches your power supply before plugging it in. Never operate the machine with a damaged cord or plug. Avoid using extension cords if possible; if necessary‚ use a heavy-duty cord rated for the machine’s amperage.
Do not expose the machine to water or moisture. Disconnect the power cord before cleaning or changing parts. If the machine malfunctions‚ immediately unplug it and consult a qualified technician for repairs. Grounding is essential for safety.
Avoiding Injury During Operation
Keep fingers away from the needle‚ presser foot‚ and other moving parts while the Shark Euro Pro X is running. Never sew over pins or thick materials that could break the needle. Always use the appropriate needle type for the fabric being sewn.
Maintain focus and avoid distractions during operation. Disconnect the power before making adjustments or repairs. Never force the fabric under the needle; let the machine feed it smoothly.
Machine Components & Identification
Explore the Shark Euro Pro X’s main body‚ needle area‚ and control panel. Identify each part for efficient threading‚ bobbin use‚ and stitch selection.
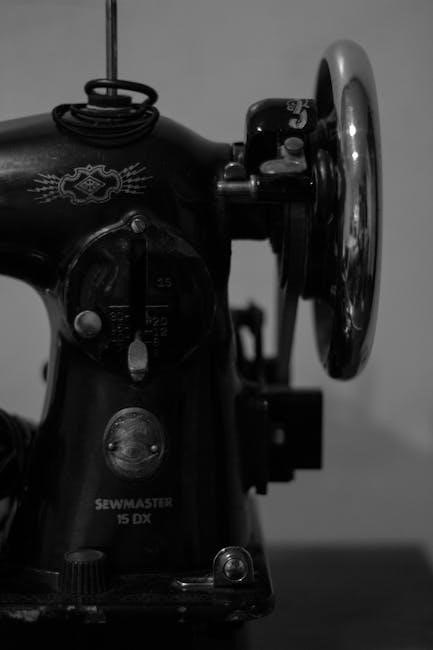
Main Body & Housing
The Shark Euro Pro X’s robust main body provides a stable framework for all sewing operations. Housing securely contains the internal mechanisms‚ ensuring smooth and consistent performance. Inspect the exterior for any damage before each use. Pay attention to the handwheel‚ power switch location‚ and carry handle for convenient operation and portability. Ensure the machine sits firmly on a level surface during use for optimal stability and safety.
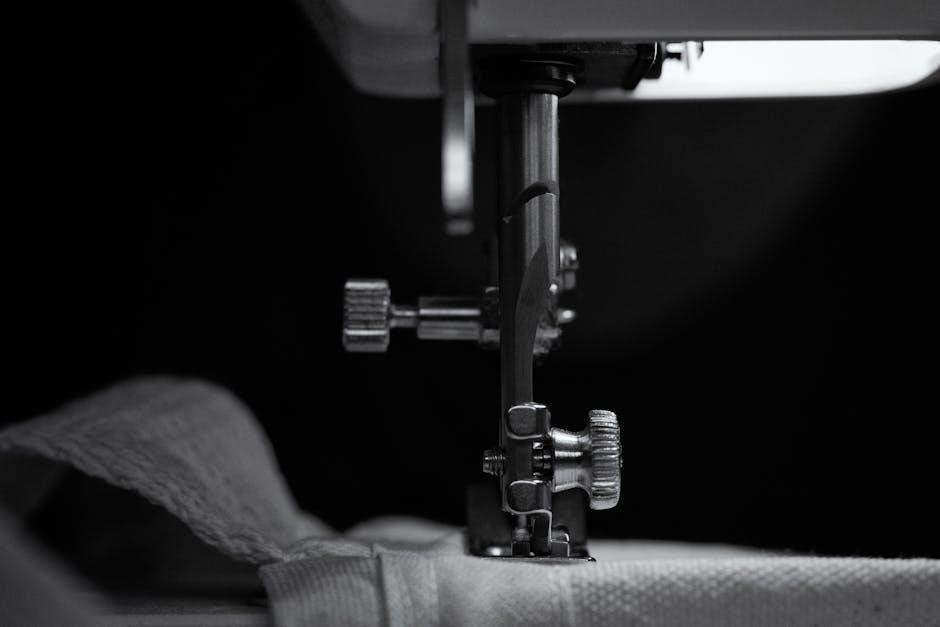
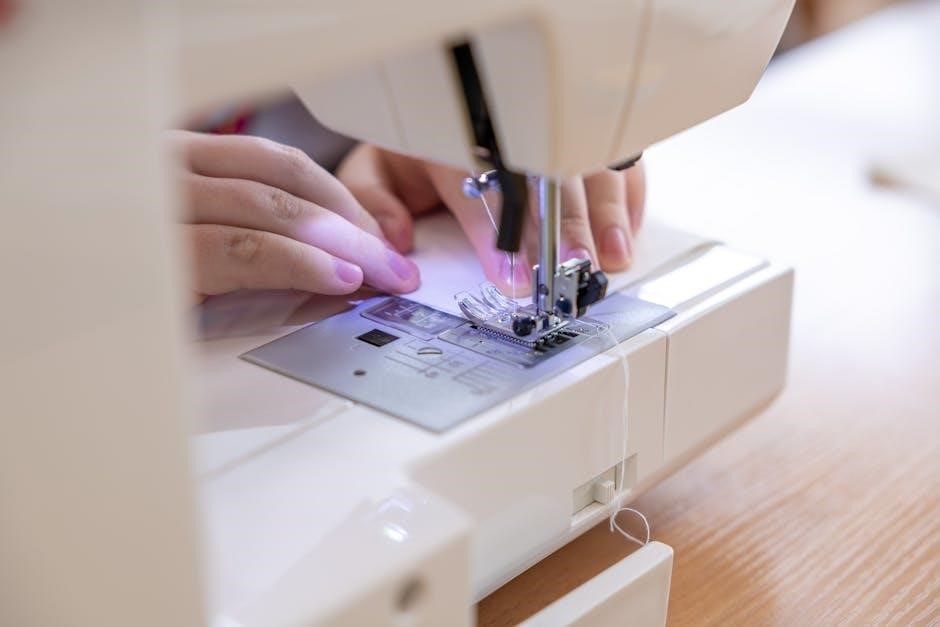
Needle‚ Presser Foot & Bobbin Area
The needle‚ presser foot‚ and bobbin area are crucial for stitch formation. Ensure the needle is correctly inserted and appropriate for your fabric. The presser foot secures fabric while sewing; different feet exist for varied techniques. Accessing the bobbin area requires understanding its cover and winding process. Regularly check for lint and debris to maintain smooth operation and prevent jams.
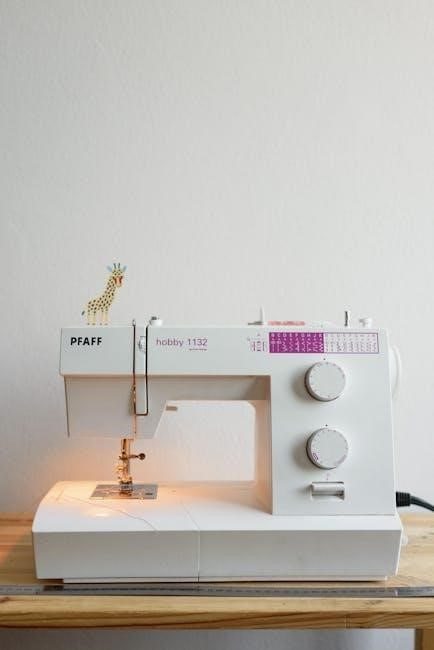
Control Panel & Stitch Selection
The control panel houses stitch selection dials and speed control. Familiarize yourself with each stitch’s purpose – straight‚ zigzag‚ and decorative options are common. Adjust stitch length and width using dedicated controls for customized results. Refer to the manual for specific stitch applications and recommended settings. Understanding these features unlocks the machine’s full potential.
Setting Up Your Sewing Machine
Proper setup involves winding the bobbin‚ correctly threading the needle‚ and ensuring all components are securely in place before initial operation.
Winding the Bobbin
Begin by placing the thread spool on the spool pin. Guide the thread through the tension disc and onto the bobbin. Ensure the bobbin is correctly positioned on the bobbin winder spindle.
Engage the bobbin winder by pushing it to the right. Press the foot pedal gently to start winding; the machine will stop automatically when full. Remove the bobbin and secure the thread end.
Threading the Needle
Start with the presser foot lifted and the needle in its highest position. Guide the thread from the spool‚ through the thread guides‚ and around the tension discs. Next‚ lead the thread down and through the take-up lever.
Finally‚ thread the needle from front to back. Pull a sufficient length of thread through the needle eye. This ensures smooth and consistent stitching during operation.
Initial Machine Setup
Begin by connecting the power cord and ensuring the power switch is off. Install a suitable needle and wind a bobbin with matching thread. Then‚ insert the bobbin correctly into the bobbin case.
Next‚ raise the presser foot and thread the machine as instructed. Perform a test stitch on scrap fabric to verify proper setup and tension. Adjust as needed before starting your project.
Basic Sewing Techniques
Master fundamental stitches like straight and zigzag‚ adjusting length and width for varied projects. Practice consistent speed and guiding fabric smoothly.
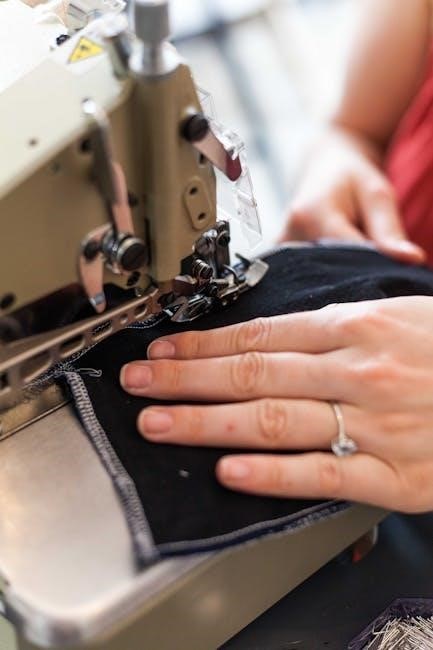
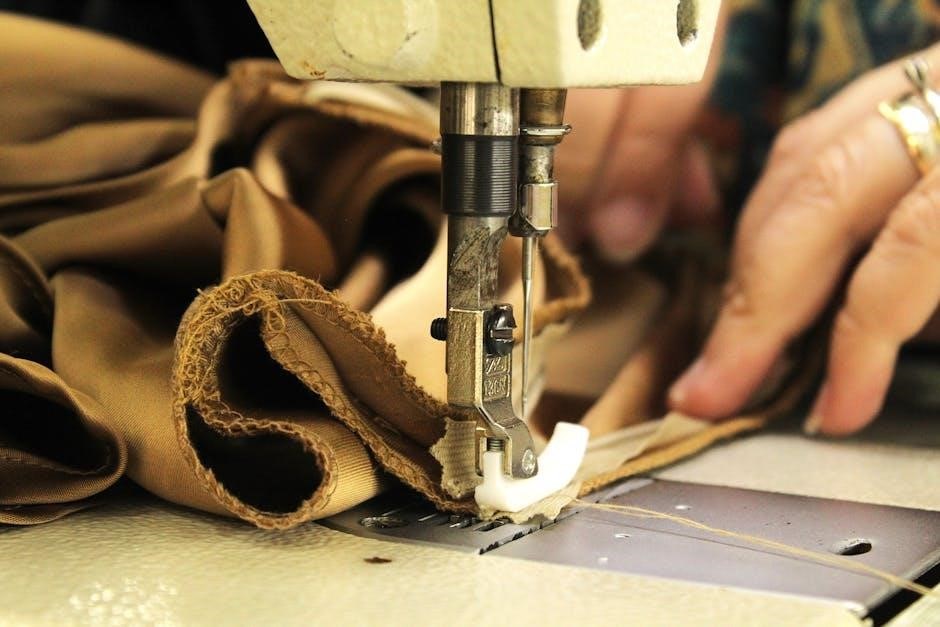
Straight Stitching
Begin by threading the machine and selecting a straight stitch setting on the control panel. Ensure the fabric is placed correctly under the presser foot‚ aligning the edge with your desired seam allowance.
Slowly depress the foot pedal‚ guiding the fabric gently; avoid pulling or pushing. Maintain a consistent speed for even stitches. Practice on scrap fabric to refine technique before tackling your project. Adjust stitch length as needed for different fabric weights and applications.
Zigzag Stitching
Select the zigzag stitch option on your Shark Euro Pro X control panel. Adjust the stitch width and length according to your fabric and project needs – wider for stretch fabrics‚ narrower for reinforcement.
Guide the fabric smoothly under the presser foot‚ maintaining a consistent speed. Zigzag stitches are ideal for finishing raw edges‚ creating decorative elements‚ and sewing knit fabrics to allow for stretch.
Adjusting Stitch Length & Width
Utilize the length and width dials on your Shark Euro Pro X to customize stitches. Shorter stitch lengths are best for delicate fabrics‚ while longer lengths suit heavier materials.
Wider stitch widths create bolder designs‚ and narrower widths offer subtle detailing. Experiment with settings on scrap fabric to achieve the desired look before starting your project.
Advanced Sewing Techniques
Master buttonholes‚ zipper insertion‚ and potentially overlock stitches with your Shark Euro Pro X. Explore specialized presser feet for enhanced results.
Buttonhole Sewing
Achieving perfectly formed buttonholes requires precise settings on your Shark Euro Pro X. Consult your manual for the correct buttonhole foot attachment and stitch selection. Carefully measure button size and adjust the machine accordingly. Practice on scrap fabric to refine technique‚ ensuring consistent results.
Follow the manual’s step-by-step guide for optimal buttonhole creation‚ including securing the beginning and end of the stitch. Proper tension is crucial for a professional finish.
Zipper Insertion
Successfully inserting a zipper with your Shark Euro Pro X demands a specialized zipper foot‚ detailed in your machine’s manual. Select the appropriate zipper stitch – options may include centered‚ left‚ or right. Pin the zipper tape securely to the fabric‚ maintaining even alignment.
Slow‚ consistent sewing is key; guide the fabric gently‚ avoiding forceful pressure. Backstitch at the beginning and end for durability. Refer to the manual for specific techniques.
Overlock Stitching (if applicable)
Determine if your Shark Euro Pro X model features an overlock stitch – not all models do. If available‚ this stitch creates a professional‚ finished edge‚ preventing fabric fraying. Utilize the overlock foot for optimal results‚ ensuring proper fabric alignment under the needle.
Adjust stitch width and length according to your fabric type‚ consulting the manual for guidance. Practice on scrap fabric before applying to your project for a clean‚ durable seam.
Troubleshooting Common Issues
Resolve thread breaks‚ needle failures‚ and machine jams with this section’s guidance. Decode error codes and find solutions for smooth Shark Euro Pro X operation.
Thread Breakage Problems
Frequent thread breakage often indicates improper threading‚ a dull needle‚ or incorrect thread tension. Ensure the machine is correctly threaded following the manual’s diagrams. Replace the needle with a new one of the correct type and size. Adjust the tension dial; tighter tension can cause breaks‚ while loose tension leads to looping. Verify thread quality – cheap thread is prone to snapping. Finally‚ confirm the bobbin is wound evenly and inserted correctly.
Needle Breakage Solutions
Needle breakage typically stems from forcing fabric‚ using the wrong needle type‚ or hitting a pin. Always use the appropriate needle for your fabric weight – heavier fabrics require stronger needles. Avoid sewing over pins; remove them before the needle reaches them. Ensure the needle is correctly inserted and tightened. Check for bent or damaged needles and replace them immediately. Finally‚ verify proper threading to prevent strain on the needle.
Machine Jamming & Error Codes
Machine jamming often occurs due to improper threading‚ tangled bobbin thread‚ or fabric buildup. Carefully re-thread the machine‚ ensuring correct path adherence. Inspect the bobbin area for tangles and clean any lint accumulation. Refer to the manual for specific error code definitions‚ as they indicate the source of the problem. Restart the machine after addressing the issue. Avoid forcing the handwheel if jammed.
Maintenance & Cleaning
Regular cleaning and lubrication are vital for optimal performance. Remove lint and dust frequently‚ and follow the manual’s guidelines for oiling key components.
Regular Cleaning Procedures
Consistent cleaning extends your Shark Euro Pro X’s lifespan. Power off and unplug the machine before starting. Remove the needle and presser foot. Use a brush to clear lint from the bobbin area and feed dogs; Vacuum loose debris. Wipe down the exterior with a soft‚ dry cloth. Avoid using liquids near electrical components‚ ensuring a safe and efficient sewing experience.
Lubrication Guidelines
Proper lubrication ensures smooth operation of your Shark Euro Pro X. Only use sewing machine oil – never oil with detergents. Apply a small drop to the bobbin race and hook area‚ as well as the motor shaft (if accessible). Avoid over-oiling‚ which attracts dust. Wipe away excess oil immediately. Regular‚ careful lubrication maintains peak performance.
Long-Term Storage Instructions
Preparing your Shark Euro Pro X for extended storage is crucial. Thoroughly clean the machine‚ removing lint and dust. Lightly oil key components. Cover the machine with a dust cover to prevent damage. Store in a cool‚ dry place‚ away from direct sunlight. Disconnect the power cord and consider removing the needle.
Finding the Manual Online
Locate your Shark Euro Pro X manual on the official Shark website or through various third-party sites offering PDF downloads for easy access.
Official Shark/Euro-Pro Website
The primary source for your Shark Euro Pro X sewing machine manual is the official Shark/Euro-Pro website. Navigate to their support or customer service section‚ then search specifically for your model number – often 385X or 7133.
You’ll likely find downloadable PDF versions of the complete user manual‚ offering detailed instructions‚ safety guidelines‚ and troubleshooting tips directly from the manufacturer. Ensure you have a stable internet connection for a smooth download process.
Third-Party Manual Download Sites
Several websites specialize in hosting user manuals‚ including those for the Shark Euro Pro X sewing machine. Manualzilla and similar platforms often archive older models and provide PDF downloads.
However‚ exercise caution when using these sites; verify the manual’s authenticity and ensure it corresponds to your specific model number. Always prioritize the official Shark/Euro-Pro website when possible for the most accurate information.
PDF Manual Availability
The Shark Euro Pro X sewing machine manual is widely available in PDF format. Official sources and numerous third-party sites host downloadable versions‚ offering convenient access to instructions.
PDF manuals allow for easy printing‚ searching‚ and offline viewing. Ensure the PDF matches your exact model (e.g.‚ 385X‚ 7131) for accurate guidance on operation‚ safety‚ and maintenance procedures.
Understanding Stitch Patterns
Explore decorative‚ stretch‚ and reinforcement stitches within your Shark Euro Pro X manual. Learn applications for varied projects and fabric types effectively.
Decorative Stitch Guide
Unlock creative potential with the Shark Euro Pro X’s decorative stitches! The manual details each pattern’s unique application‚ from elegant floral designs to bold geometric accents. Experiment with stitch width and length for customized effects on garments‚ home décor‚ and quilting projects. Refer to the manual’s stitch charts for visual guidance and recommended fabrics. Master techniques for achieving professional-looking embellishments and personalized touches‚ enhancing your sewing artistry.
Stretch Stitch Applications
Utilize the Shark Euro Pro X’s stretch stitches for successful knit fabric projects. The manual illustrates how these stitches maintain seam elasticity‚ preventing puckering and breakage. Ideal for activewear‚ swimwear‚ and comfortable clothing‚ they ensure a professional finish. Adjust stitch settings based on fabric weight and desired stretch. Explore various techniques for creating durable and flexible seams‚ enhancing garment fit and longevity.
Reinforcement Stitch Usage
The Shark Euro Pro X manual details reinforcement stitch applications for high-stress areas. Employ these stitches at the beginning and end of seams‚ around buttonholes‚ and on pocket corners. This technique prevents unraveling and increases garment durability. Select a denser stitch pattern for maximum strength. Proper reinforcement extends the life of your projects‚ ensuring lasting quality and a professional appearance.
Accessories & Their Uses
Explore various presser feet‚ needle types‚ and attachments included with your Shark Euro Pro X. The manual explains each accessory’s specific function for diverse projects.
Presser Feet Variations
Your Shark Euro Pro X likely includes several presser feet for specialized tasks. A zigzag foot enables decorative stitching‚ while a buttonhole foot simplifies buttonhole creation. Explore a zipper foot for precise zipper insertion and potentially a blind hem foot for invisible hems. Refer to the manual to identify each foot and understand its optimal applications‚ ensuring professional results with every project.
Needle Types & Sizes
Selecting the correct needle is crucial for successful sewing with your Shark Euro Pro X. Universal needles suit most fabrics‚ while ballpoint needles are ideal for knits. Denim needles handle heavier materials; Needle size correlates with fabric weight; smaller numbers for delicate fabrics‚ larger for thicker ones. Consult your manual for a comprehensive chart to ensure optimal stitch quality and prevent damage.
Additional Attachments
Enhance your Shark Euro Pro X’s capabilities with optional attachments. A quilting guide ensures even stitching‚ while a blind hem foot creates professional finishes. Gathering feet produce ruffled effects‚ and a zipper foot simplifies insertion. Explore available accessories to unlock new creative possibilities and tackle diverse sewing projects with greater ease and precision.
Frequently Asked Questions (FAQ)
Find answers to common user queries‚ troubleshooting tips‚ and vital warranty details regarding your Shark Euro Pro X. Explore solutions for seamless operation!
Common User Queries
Users frequently ask about threading issues‚ bobbin winding techniques‚ and resolving error codes on their Shark Euro Pro X. Many inquire about stitch selection‚ presser foot usage‚ and finding downloadable manuals. Questions also arise regarding needle breakage‚ thread tension adjustments‚ and accessing specific instruction sections within the PDF guide.
Troubleshooting Tips
For thread breaks‚ re-thread the machine and check the needle. If the needle breaks‚ use the correct type and size. Machine jamming often requires removing the bobbin and clearing lint. Consult the manual’s error code section for specific solutions. Ensure proper threading for smooth operation.
Warranty Information
Shark/Euro-Pro sewing machines typically include a limited warranty covering manufacturing defects. Check your manual for the specific duration and terms‚ often one year from purchase. Warranty claims require proof of purchase. Modifications or misuse may void the warranty. Contact Shark/Euro-Pro customer support for assistance.