Panasonic Bread Maker Recipes PDF: A Comprehensive Guide
This guide compiles recipes for Panasonic bread makers, including breads, jams, and doughs. It features 14 diverse bread recipes, offering flavorful options for all tastes.
Panasonic has established itself as a leading innovator in the bread maker market, particularly with models like the SD-YR2540. These machines aren’t simply for basic loaves; they unlock a world of culinary possibilities, from artisan breads to homemade jams and even slow-cooked sauces. The appeal lies in their convenience – eliminating the kneading and proving traditionally associated with baking.
A key benefit is accessibility, even for novice bakers. Basic mode simplifies operation, while advanced features cater to experienced cooks seeking customization. The availability of dedicated recipe PDFs, both official and community-created, further enhances the user experience, providing inspiration and guidance for a diverse range of baked goods. The aroma of freshly baked bread, effortlessly achieved, is a significant draw!
Understanding the Recipe PDF
The Panasonic bread maker recipe PDF is a valuable resource, containing a collection of recipes designed specifically for optimal performance with your machine. These documents typically detail ingredient lists, precise measurements, and step-by-step instructions tailored to various bread types – from classic white to specialty sourdoughs.
Pay close attention to the specified program settings (e.g., rapid bake, dough setting) and ingredient order, as these significantly impact the final result. The PDF often includes troubleshooting tips addressing common issues like bread shape or density. Utilizing these resources ensures consistent, delicious outcomes and allows you to explore the full potential of your Panasonic bread maker, expanding beyond basic recipes.
Basic Bread Recipes
This section provides foundational recipes, including classic white and whole wheat breads, perfect for beginners. These recipes establish a base for further experimentation.
Classic White Bread Recipe
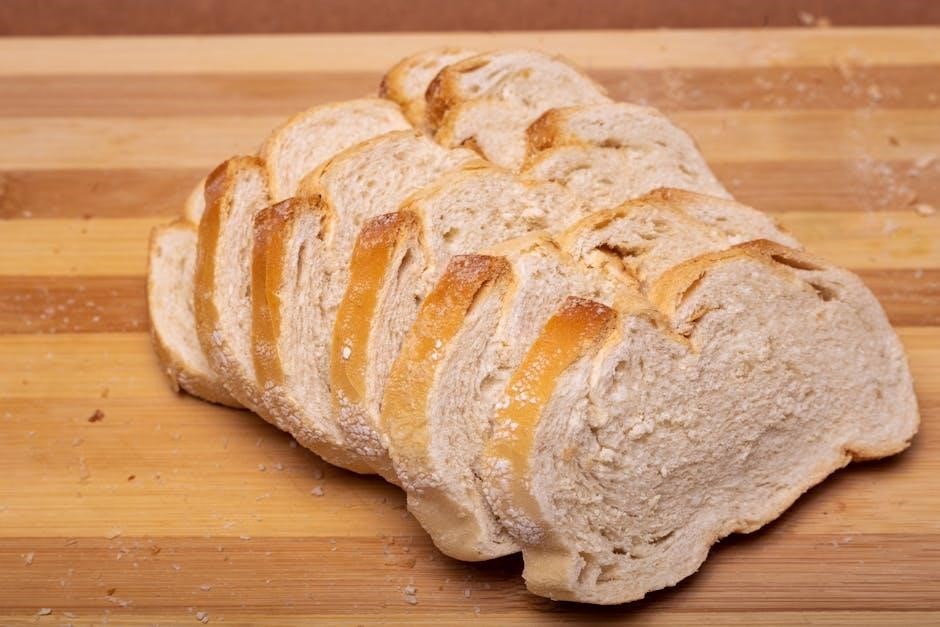
Embark on your bread-making journey with this timeless classic! This recipe, designed specifically for Panasonic bread makers, delivers a soft, fluffy loaf perfect for sandwiches or toast. You’ll need 250ml of water, 350g of bread flour, 1 teaspoon of sugar, 1.5 teaspoons of salt, and 1.5 teaspoons of instant dry yeast.
Simply add the ingredients to your Panasonic bread maker pan in the order recommended by your model’s manual – typically liquids first, then dry ingredients, with yeast last. Select the ‘Basic’ or ‘White Bread’ setting, and choose your desired crust color.
Allow the bread maker to work its magic! The entire process, from mixing to baking, usually takes around 3 hours. Once complete, carefully remove the loaf and let it cool completely on a wire rack before slicing and enjoying the delightful aroma and taste of freshly baked bread.
Whole Wheat Bread Recipe
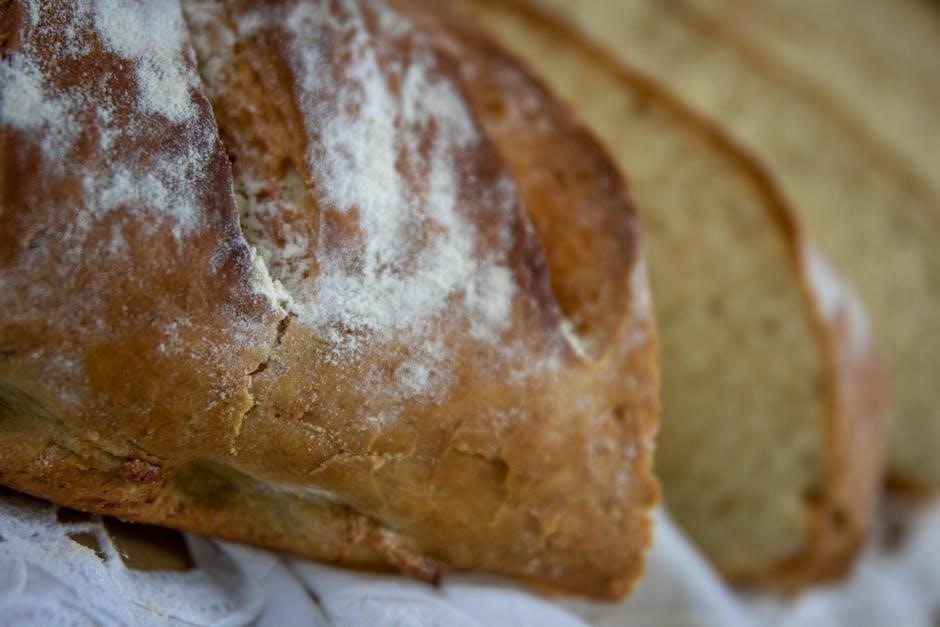
Nourish your body with this wholesome and hearty whole wheat bread! Crafted for Panasonic bread makers, this recipe provides a nutritious and flavorful loaf. You’ll require 220ml of water, 250g of whole wheat flour, 100g of bread flour, 1 tablespoon of honey, 1 teaspoon of salt, and 1.5 teaspoons of instant dry yeast.
Combine ingredients in your Panasonic bread maker pan, following the order specified in your manual – liquids first, then dry, with yeast on top. Select the ‘Whole Wheat’ setting, adjusting the crust color to your preference.
The bread maker will handle the kneading, rising, and baking, typically completing the process in around 3-4 hours. Once finished, remove the loaf and allow it to cool fully on a wire rack before slicing. Enjoy the robust flavor and satisfying texture of this nutritious whole wheat bread!
Basic Bread Troubleshooting
Encountering issues with your Panasonic bread maker? Don’t worry, common problems are easily addressed! An abnormal bread shape often indicates uneven ingredient distribution or improper yeast activation; Ensure ingredients are measured accurately and yeast is fresh. Dense bread usually results from insufficient yeast, too much flour, or inadequate kneading – try adding a little more liquid or yeast next time.
If your bread is burning, reduce the crust color setting or shorten the baking cycle slightly. Always check the loaf during the final stages. Remember to follow the recipe instructions carefully and consult your bread maker’s manual for specific guidance.
Proper ingredient order and machine maintenance are key to consistent results.
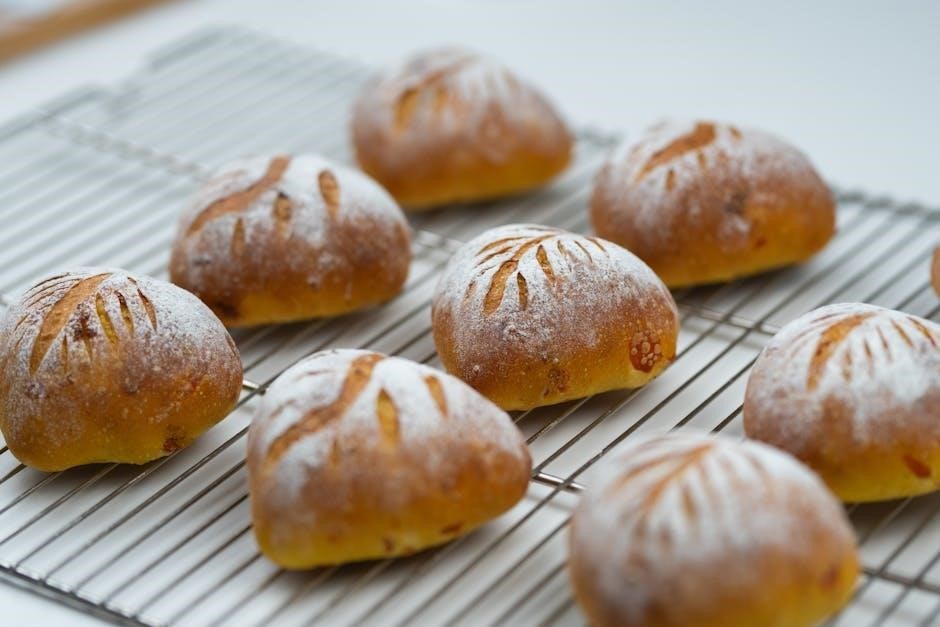
Flavored Bread Recipes
Explore diverse tastes! This section details recipes for nut and raisin, seed, and cheesy breads, expanding beyond basic loaves with exciting flavor combinations.
Nut and Raisin Bread Recipe
Indulge in a classic favorite! This recipe brings together the delightful sweetness of raisins and the satisfying crunch of nuts, perfectly baked in your Panasonic bread maker. Begin with 1 ¼ cups of bread flour, alongside 1 cup of water, 2 tablespoons of sugar, and 1 ½ teaspoons of salt. Add 2 tablespoons of softened butter or oil, and crucially, 2 teaspoons of dry yeast.
For the flavorful additions, incorporate ¾ cup of raisins and ½ cup of chopped nuts – walnuts or pecans work wonderfully. Select the ‘Sweet’ bread cycle on your Panasonic machine, ensuring a gentle rise and even bake. This cycle optimizes the texture for sweeter breads. Expect a loaf that’s both soft and chewy, with bursts of fruity sweetness and nutty goodness in every slice. Enjoy warm with a touch of butter!
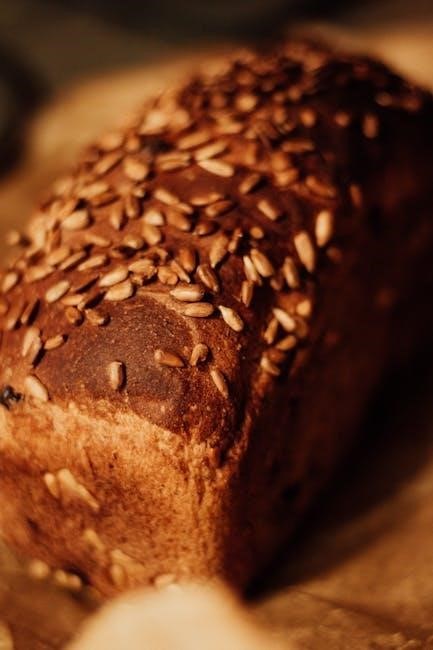
Seed Bread Recipe
Embrace wholesome goodness with this Seed Bread recipe! Crafted for your Panasonic bread maker, this loaf is packed with nutritious seeds and a delightful, rustic flavor. Start with 1 ¼ cups of whole wheat flour, combined with 1 cup of bread flour for a balanced texture. Add 1 ¼ cups of water, 1 tablespoon of honey, 1 ½ teaspoons of salt, and 2 teaspoons of dry yeast.
The star of the show is the seed blend – use approximately ¾ cup, combining sunflower, pumpkin, flax, and sesame seeds for variety. Select the ‘Whole Wheat’ cycle on your Panasonic machine to ensure proper rising and baking. This cycle is designed for denser, whole-grain loaves. The result is a hearty, flavorful bread perfect for sandwiches or enjoying with soup. A truly nourishing and delicious bake!
Cheesy Bread Recipe
Indulge in a savory delight with this Cheesy Bread recipe, specifically tailored for your Panasonic bread maker! Begin with 1 ¼ cups of bread flour, ½ cup of milk, 1 tablespoon of softened butter, 1 teaspoon of salt, 1 teaspoon of sugar, and 2 teaspoons of dry yeast. The secret ingredient? A generous ¾ cup of shredded cheddar cheese – or your favorite blend!
For an extra layer of flavor, consider adding a pinch of garlic powder or onion flakes. Select the ‘Basic’ cycle on your Panasonic machine, allowing it to handle the kneading and rising. This recipe creates a soft, fluffy loaf with a wonderfully cheesy aroma. Perfect as a side dish or a comforting snack, this bread is sure to be a family favorite. Enjoy the warm, cheesy goodness!
Sweet Bread Recipes
Discover delightful sweet bread options for your Panasonic bread maker, including Cinnamon Raisin, Honey Wheat, and Sweet White varieties, perfect for a tasty treat!
Cinnamon Raisin Bread Recipe
Indulge in the comforting aroma and taste of homemade Cinnamon Raisin Bread, easily crafted using your Panasonic bread maker. This recipe delivers a soft, fluffy loaf brimming with sweet cinnamon swirls and plump raisins. Begin with 1 ¼ cups of warm milk, 2 tablespoons of sugar, and 2 ¼ teaspoons of active dry yeast. Allow it to bloom for five minutes.
In the bread maker pan, combine 3 cups of bread flour, ¼ cup of sugar, 1 teaspoon of salt, and the yeast mixture. Add 2 tablespoons of melted butter and 1 cup of raisins. Select the ‘Sweet’ bread cycle and press start. For a more intense cinnamon flavor, add 1-2 teaspoons of ground cinnamon directly into the pan before starting. Enjoy a warm slice with butter or cream cheese!
Honey Wheat Bread Recipe
Experience the wholesome goodness of Honey Wheat Bread, a delightful and nutritious loaf perfect for sandwiches or toast, effortlessly made in your Panasonic bread maker. Start by combining 1 ¼ cups of warm water, 2 tablespoons of honey, and 2 ¼ teaspoons of active dry yeast; let it rest for about 5-10 minutes until foamy.
In the bread maker pan, add 3 cups of whole wheat flour, 1 cup of bread flour, 1 teaspoon of salt, and the yeast mixture. Incorporate 2 tablespoons of olive oil for added moisture and flavor; Select the ‘Whole Wheat’ bread cycle and initiate the baking process; The honey lends a subtle sweetness, complementing the nutty flavor of the wheat. Enjoy a slice with your favorite spread for a satisfying and healthy treat!
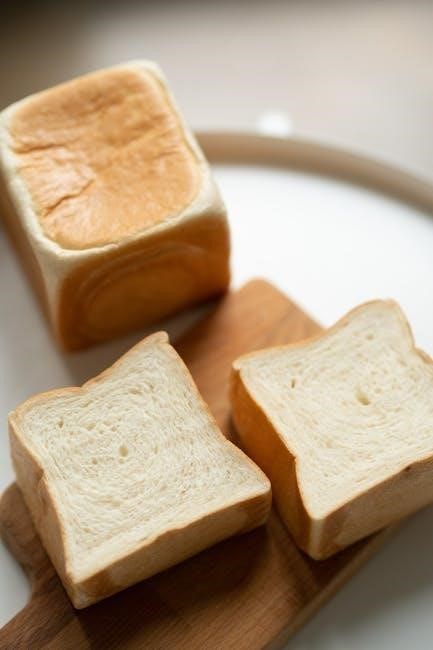
Sweet White Bread Recipe
Indulge in the classic comfort of Sweet White Bread, a soft and fluffy loaf ideal for French toast, PB&Js, or simply enjoying with butter. Begin by combining 1 ¼ cups of warm milk, 2 tablespoons of sugar, and 2 ¼ teaspoons of active dry yeast; allow it to bloom for approximately 5-10 minutes.
In your Panasonic bread maker pan, combine 3 ½ cups of bread flour, 1 teaspoon of salt, and the yeast mixture. Add 3 tablespoons of softened butter and 2 tablespoons of sugar for enhanced sweetness and texture. Select the ‘Sweet’ bread cycle and start the baking process. This recipe yields a tender crumb and a slightly sweet flavor, perfect for satisfying your sweet tooth. Enjoy a warm slice straight from the bread maker!

Specialty Bread Recipes
Explore unique flavors with specialty breads! Discover recipes like Carrot Sourdough with Seeds and delightful Easter breads, expanding your Panasonic bread maker’s capabilities.
Sourdough Bread Recipe
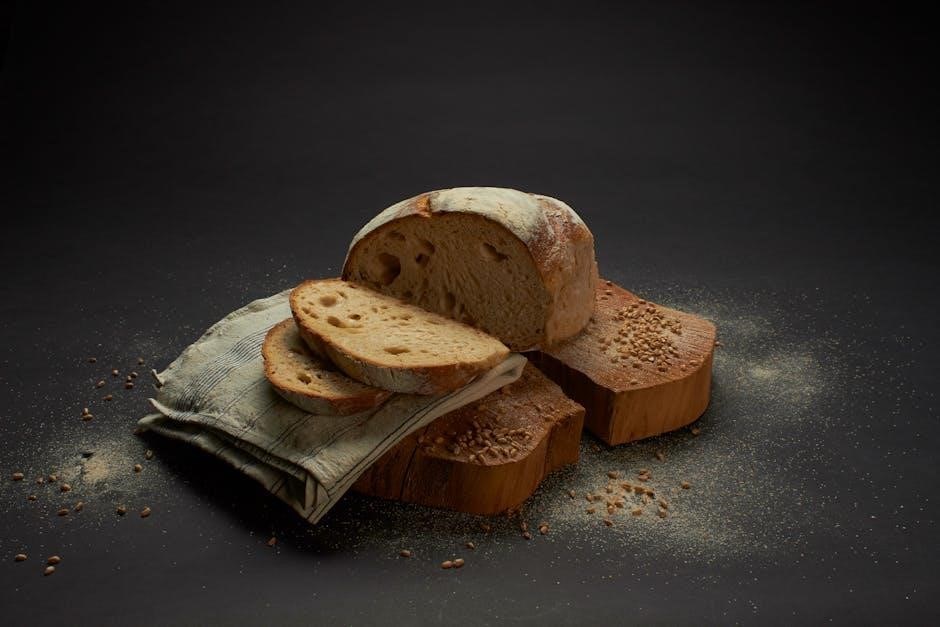
Embark on a flavorful journey with a homemade sourdough loaf, crafted conveniently within your Panasonic bread maker. This recipe utilizes the natural fermentation process of sourdough starter, resulting in a tangy and complex bread with a delightful chewy texture. Achieving the perfect sourdough requires patience and attention to detail, but the reward is a truly exceptional loaf.
Begin by activating your sourdough starter, ensuring it’s bubbly and doubled in size. Combine the starter with water, flour, and a touch of salt within the bread maker’s pan. Select the appropriate sourdough setting, if available, or utilize a custom program with a longer rise time. Allow the bread maker to work its magic, kneading and proofing the dough to perfection.
The resulting sourdough bread boasts a beautiful crust and an irresistible aroma; Enjoy it sliced, toasted, or paired with your favorite spreads. Experiment with different flours and additions to personalize your sourdough creation!
Carrot Sourdough Bread with Seeds
Elevate your bread-making experience with this unique Carrot Sourdough Bread with Seeds, specifically designed for your Panasonic bread maker. This recipe beautifully blends the tang of sourdough with the subtle sweetness of carrots and the satisfying crunch of seeds. It’s a delightful twist on traditional sourdough, offering a vibrant color and enhanced nutritional value.
Start by incorporating grated carrots into your sourdough starter mixture, allowing their natural sugars to contribute to the fermentation process. Add a blend of seeds – sunflower, pumpkin, or flax – for added texture and flavor. Utilize your bread maker’s sourdough setting, or customize a program to accommodate the longer proofing time required for sourdough.
The result is a visually appealing and incredibly flavorful loaf, perfect for sandwiches, toast, or simply enjoying on its own. This recipe showcases the versatility of your Panasonic bread maker!
Easter Bread Recipes
Celebrate the spring season with delightful Easter breads, effortlessly created using your Panasonic bread maker! This collection of recipes brings festive flavors and beautiful presentations to your holiday table. From traditional sweet breads adorned with colorful sprinkles to enriched doughs perfect for shaping into bunnies or crosses, your bread maker simplifies the baking process.
Explore recipes featuring citrus zest, vanilla, and warming spices like cinnamon and nutmeg. Consider adding dried fruits like raisins or cranberries for extra sweetness and texture. Utilize your bread maker’s custom program settings to achieve the perfect rise and bake for each unique Easter creation.
Impress your family and friends with homemade Easter breads that are both delicious and visually stunning – all thanks to the convenience of your Panasonic bread maker!
Utilizing the Panasonic Bread Maker Features
Panasonic bread makers offer versatile functions, like jam making and dough settings for pasta. The rapid bake cycle delivers quick results for convenient baking experiences.
Jam Making Function
The Panasonic bread maker isn’t limited to bread; its jam-making function unlocks a world of homemade preserves. Marion Grasby demonstrates this beautifully, crafting a rich beef ragu sauce utilizing the slow-cooking capabilities of the jam setting. This allows for extended braising, deeply developing flavors that would typically require hours on a stovetop.
This feature isn’t just for savory applications; naturally, it excels at traditional fruit jams and preserves. The bread maker carefully controls the temperature, preventing scorching and ensuring a consistent texture. Experiment with various fruits, adding spices or a touch of lemon juice to create unique and delicious spreads. It’s a convenient and surprisingly effective way to enjoy homemade jam without the constant stirring and monitoring required by conventional methods, offering a delightful alternative to store-bought options.
Dough Setting for Homemade Pasta
Beyond bread, the Panasonic bread maker’s dough setting proves invaluable for crafting homemade pasta. This function expertly handles the kneading process, a traditionally labor-intensive step in pasta making, delivering a smooth and elastic dough ready for rolling and shaping. The consistent kneading ensures proper gluten development, resulting in pasta with a delightful texture.
Utilizing this setting streamlines the entire pasta-making process, saving significant time and effort. Whether you’re aiming for classic spaghetti, delicate ravioli, or hearty lasagna sheets, the dough setting provides a perfect foundation. Simply add the necessary ingredients – flour, eggs, and liquids – select the dough cycle, and let the machine do the work. It’s a fantastic way to elevate your culinary creations with fresh, homemade pasta, offering a superior taste and texture compared to dried alternatives.
Using the Rapid Bake Cycle
For those times when a fresh loaf is needed quickly, the Panasonic bread maker’s rapid bake cycle is a game-changer. This feature significantly reduces baking time, delivering a warm, delicious loaf in a fraction of the usual duration. While the texture might differ slightly from a standard bake, it’s an excellent option for spontaneous cravings or when time is limited.
The rapid bake cycle is particularly useful for simpler bread recipes, like basic white bread, where a slightly softer crust is acceptable. It’s important to note that using this cycle may require adjusting ingredient quantities slightly, as the accelerated process can affect yeast activation. Always consult the recipe PDF for specific recommendations when utilizing the rapid bake function to ensure optimal results and a perfectly baked loaf, even on a tight schedule.
Troubleshooting Common Issues
Common problems like abnormal bread shapes, dense loaves, or burning are addressed in the Panasonic recipe PDF’s FAQ section, offering solutions for perfect baking.
Addressing Abnormal Bread Shape
An oddly shaped loaf is a frequent concern for Panasonic bread maker users. The recipe PDF often dedicates a section to diagnosing and rectifying this issue. Several factors can contribute to an uneven or collapsed bread structure. Incorrect ingredient measurements, particularly yeast or liquid, are primary culprits. Ensure precise adherence to the recipe’s specified quantities.
Furthermore, the type of flour used significantly impacts the final shape. High-gluten flours generally yield a more stable structure. Also, check the paddle – a loose or damaged paddle can disrupt the dough’s development. Finally, environmental factors like room temperature and humidity can play a role; adjust liquid amounts accordingly. The Panasonic guide provides detailed troubleshooting steps to achieve a perfectly formed loaf every time.
Dealing with Dense Bread
Dense bread is a common issue when using a Panasonic bread maker, and the recipe PDF offers solutions; Often, insufficient yeast is the primary cause; ensure your yeast is fresh and properly activated. Expired yeast loses its potency, resulting in poor rise and a heavy texture. Another factor is inadequate kneading – the bread maker’s kneading cycle must fully develop the gluten.
Too much whole wheat flour can also contribute to density, as it inhibits gluten development. Consider reducing the proportion of whole wheat and increasing bread flour. Additionally, insufficient liquid can lead to a dry, dense crumb. Carefully measure liquids and adjust slightly if needed, considering humidity. The Panasonic guide emphasizes precise measurements and proper ingredient ratios for optimal results.
Preventing Bread from Burning
The Panasonic bread maker recipe PDF addresses the issue of burning, a concern for many users. A primary cause is an excess of sugar or oil in the recipe, leading to accelerated crust browning. Reducing these ingredients slightly can help. Another factor is the bread maker’s heating element; ensure it’s clean and functioning correctly.
Selecting the appropriate crust color setting is crucial – start with a lighter setting and adjust as needed. Monitoring the bread during the final stages of baking is also recommended. If browning occurs too quickly, consider using the “stop” function to check and potentially shorten the baking time. The guide stresses the importance of following recipe instructions precisely and adjusting settings based on your specific model and ingredients.
Advanced Techniques
The PDF empowers users to customize recipes, adjusting ingredient ratios and understanding yeast activation for optimal results. Experimentation unlocks unique bread flavors and textures.
Creating Custom Recipes
Unleashing your culinary creativity with a Panasonic bread maker extends beyond pre-programmed settings. The provided PDF serves as a foundation, but true mastery lies in crafting personalized recipes. Begin by understanding the core components – flour, liquid, yeast, and salt – and their interplay. Experiment with different flour types, like rye or spelt, to alter texture and flavor profiles.
Adjust liquid levels carefully, as humidity impacts dough consistency. Explore various sweeteners, such as honey or maple syrup, and incorporate spices or herbs for unique tastes. Don’t be afraid to add inclusions like dried fruits, nuts, or seeds. Keep detailed notes of your adjustments to refine your creations. Remember, the Panasonic bread maker’s versatility allows for endless possibilities, transforming simple ingredients into extraordinary loaves.
Adjusting Ingredient Ratios
Fine-tuning ingredient ratios is crucial for achieving desired bread characteristics with your Panasonic bread maker. The recipes in the PDF offer a starting point, but adapting them to your preferences requires understanding each ingredient’s role. Increasing flour yields a denser loaf, ideal for hearty breads, while reducing it creates a lighter texture;
Adjusting liquid levels impacts dough hydration; more liquid results in a softer crumb, less in a chewier one. Yeast quantity directly affects rise time – more yeast accelerates it, potentially leading to overflow, while less slows it down. Salt controls yeast activity and enhances flavor; altering it significantly impacts both. Careful adjustments, documented meticulously, unlock the full potential of your bread maker, allowing you to consistently bake loaves tailored to your exact liking.
Understanding Yeast Activation
Successful bread making with a Panasonic bread maker hinges on proper yeast activation. The recipes within the PDF assume active dry yeast, requiring initial proofing – dissolving in warm water (around 105-115°F) with a pinch of sugar. This confirms viability; bubbles indicate active yeast. Instant yeast, however, can be added directly to dry ingredients, simplifying the process.
Temperature is paramount; too cold, and yeast remains dormant; too hot, and it’s killed. The Panasonic bread maker’s internal heating regulates this, but ensuring water temperature is correct initially is vital. Understanding yeast’s role – converting sugars into carbon dioxide, causing rise – allows for informed adjustments. Expired yeast or improper activation leads to flat, dense bread, so freshness and correct procedure are non-negotiable for optimal results.
Resources and Support
Access the official Panasonic recipe PDF online, alongside model-specific support for the SD-YR2540. Explore online communities and forums for shared tips and troubleshooting.
Finding the Official Panasonic Recipe PDF
Locating the official Panasonic bread maker recipe PDF can sometimes present a small challenge, as direct links shift over time. However, Panasonic frequently hosts downloadable recipe books on their official website, often categorized by bread maker model. A thorough search using keywords like “Panasonic bread maker recipes PDF” and your specific model number (e.g., SD-YR2540) is a great starting point.
Additionally, many online retailers that sell Panasonic bread makers will also provide links to downloadable recipe PDFs as a value-added service for their customers. Checking the product support section of these retailer websites can be fruitful. Be cautious when downloading from unofficial sources to ensure the file is safe and free from malware. Remember to always prioritize official Panasonic resources whenever possible for the most accurate and reliable recipes.
Panasonic Bread Maker Model SD-YR2540
The Panasonic SD-YR2540 is a flagship model renowned for its versatility and access to a wide array of bread and dough recipes. This bread maker excels in basic bread making, but truly shines with specialty options like sourdough and even jam creation, as demonstrated by Marion Grasby’s beef ragu sauce utilizing the jam function;
Its intuitive basic mode makes it exceptionally user-friendly, even for beginners. The SD-YR2540’s capabilities extend beyond simple loaves; it’s capable of producing a diverse range of flavors and textures, making it a popular choice for those seeking a comprehensive bread-making experience. Numerous recipes specifically tailored for this model are available online, often in PDF format, enhancing its usability.
Online Communities and Forums
Engaging with online communities and forums dedicated to Panasonic bread makers provides a wealth of shared knowledge and support. These platforms are invaluable resources for discovering new recipes, troubleshooting issues, and exchanging tips with fellow enthusiasts. Users frequently share their customized recipes and modifications to existing ones, expanding the possibilities beyond the official PDF guides.
These forums often host discussions on specific models like the SD-YR2540, addressing common challenges and offering solutions. Finding answers to questions about ingredient ratios, yeast activation, or abnormal bread shapes is often quicker and more detailed within these communities than through official channels. They represent a vibrant hub for Panasonic bread maker users.